Raising your own chickens from home can be an awesome feeling and very exciting.
Chickens are the first thing that comes to mind when thinking of small farms or urban farming. Chickens are very easy raised and to care for. They produce not just fresh eggs daily, but they can also be reared for their meat. But most people tend to rear them for their eggs.
You will get the best quality eggs when raising your chickens the right way. This should be in an open space and as organic as possible. You can also make a very good income from your chickens. This is if you are farming to make a living.
You can make a lot more money from your chickens if you have a cockerel and sell young chicks, fertile eggs, and young pullets.
Only A Small Garden..?
No problem they will be fine just given the chance to roam. If you don’t have much of a lawn then add a few greens here and there for them to peck at.
Even if you are raising them in a small garden. Then you should still be able to make enough money to cover their feed from any spare fresh eggs.
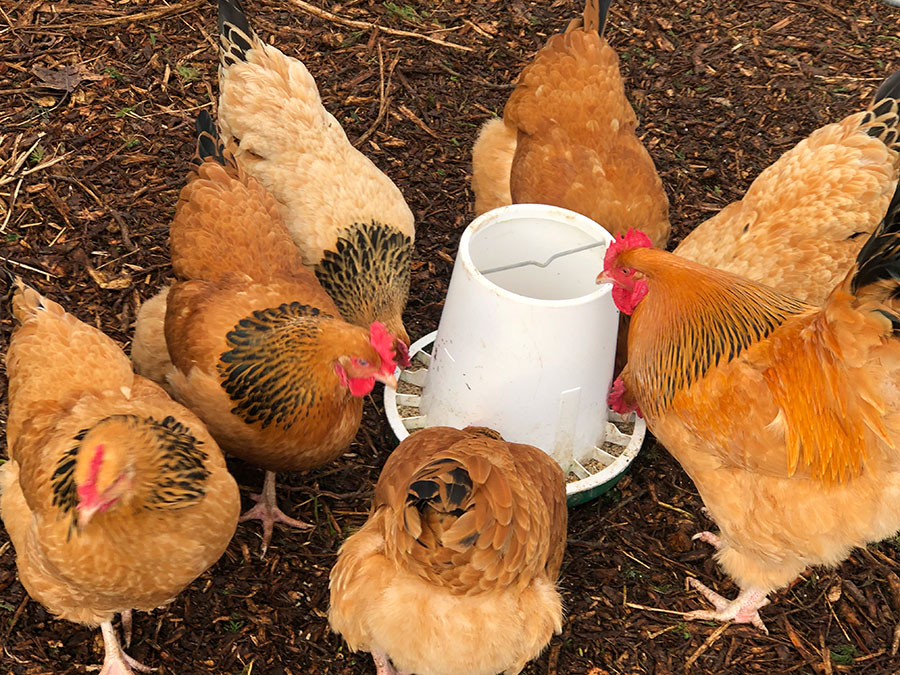
This is, of course, if you have at least three hens. Chickens like to flock together and are very sociable birds once the pecking order is sorted out.
Do Not Over Crowd Your Chicken Coop
Keeping animals of any kind, in crowded conditions is not healthy for them and can cause all sorts of health problems. This is no different for the health of your chickens keeping them overcrowded is never going to be good for them..
These diseases can be passed on to humans so a clean environment and plenty of fresh air is the best way to keep your hens and you healthy. This is why raising your own chickens from home is an excellent start, you know how they have been treated and live.
Plus cramping chickens together is just not nice. They love to scratch and scrape around outside and will be a lot healthier and happier. You will also be a lot happier knowing they are living a good life.
Incubators or Natural Broody Hens
If you have a cockerel with your chickens and you are lucky enough to have a broody hen. Then you can raise a few chicks no problem, the mother will do it all.
The cockerel has to be placed with the chickens at least a couple of weeks before you start collecting the eggs for hatching. Eggs can be stored in a cool area below 70 Fahrenheit. They will be good for around 10 days before you will need to have them under your hen.
If you have a couple of hens then if one goes broody she will wait till there is around several eggs in the nest then start to sit them.
Make sure if you are storing your eggs for the incubator that the pointed end is facing down. Normal egg boxes are great for this and will give you a better hatch rate if stored properly. This method of storing your eggs will also give you better hatch rates.
Find A Cool Place To Store Your Eggs
Keeping your eggs somewhere in a cool place will do fine before they go under your hen or the incubator. I have had no problems keeping my eggs in the shed. I use it for building animal housing.
Mark the date on your stored eggs. If one of your hens turns broody, then you know you can use those eggs. Of course, there is no guarantee that any hens are going to go broody.
So you may want to make sure that you are eating the eggs and replacing them as you use them. Now if you are going to be placing your eggs in an incubator. This is a different matter altogether. You can collect around 18 eggs over a period of one week from three hens.
And as they have been stored in a cool area while collecting a batch they will be just fine.
Then take them indoors and get the eggs up to room temperature for 24 hours or so. You do this before they go under the hen or in the incubator. It is not good for fertile eggs to go from cold temperature to 37.5 degrees Celcius in one go, trust me.
You may get a couple that will hatch. This also fascinates me no matter how many things can go wrong during incubation. You always have some tuff little chicks that will hatch, out of 100 you might get 4 hatch “life finds a way”.
The Best Hens For Broody & Motherhood
The best hens that I have used for hatching eggs and sometimes they go broody around 3 to 4 times per year are Silky Hens. These small birds make excellent mothers. They are what I have found to be the most broody chickens and best mothers you can get.
But there are more than just Silkies that are good for raising chicks, but I think Silkies go broody more than any other.
This is why the Silkie is not really good as a consistent egg-laying bird. But they are a good addition to any flock, looking all cool with their fluffy feathers.
Kids seem to love these birds for the way they look, plus they can sit any of your chicken’s eggs. They don’t mind and will raise them for the other chickens in your flock like any good mother would.
How To Get Best Start To Raising Your Own Chickens
Now incubating eggs is by far the easiest way to get lots of new hens for your farm or garden. There are so many incubators out there from huge commercial 10,000 egg incubators that are totally controlled in every way, from humidity to temperature and egg turning.
To the small hand turning 6 egg incubators, you can get. If you are DIY inclined then build a homemade incubator. There are lots of easy to follow videos on Youtube if you fancy your hand at making your own.
I used a cheap Chinese version for the last batch, which cost £99 for 96 eggs incubator.
Soon I will turn a large Coke Cola Fridge which looks cool as hell, into my own large incubator, fully automated.
Stay tuned for that one I will be making a YouTube video to show how I did it.
I Use The Brinsea Incubators Normally
But I thought I would show you how I got an excellent hatch rate from this cobbled together incubator.
These Chinese incubators are terrible but you can make them work if you are a little handy with a few tools. The heating element broke down so I had to think of a quick fix and this is it, not pretty but it worked.
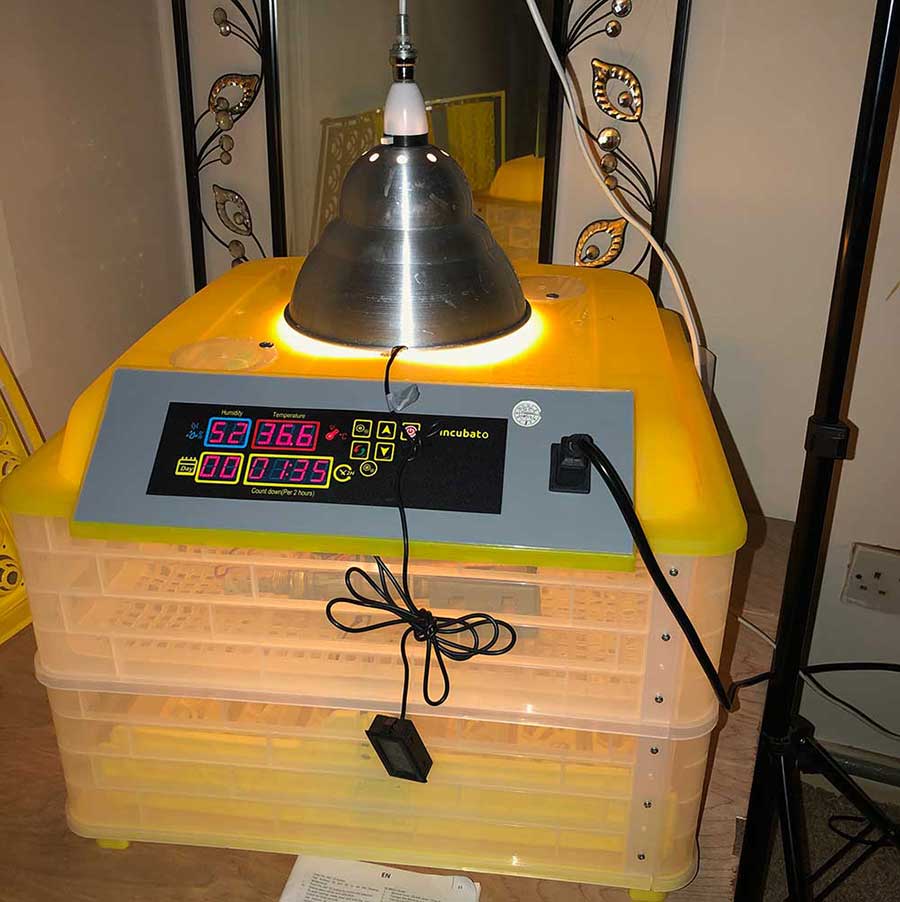
This cheap Chinese incubator is terrible for keeping the right humidity, so a little alteration which is pretty simple.
I simply cut 2 holes 1 in a front corner and 1 at the rear corner diagonal, watching that I did not damage any wires while drilling.
Then I screwed 2 plastic covers over the top of the holes, as you can see in this image above. This is how I control the humidity. I had a good hatch rate of around 60% – 70% from this less than a hundred-pound incubator.
You can just open the covers to allow for humidity to escape until you get the right amount needed. I only fill the 2 external trays on the bottom of the incubator for the first couple of weeks.
It is is a bit of pain removing the top every day to do. But it doesn’t take long, though it needs doing every day with warm water its, not like you can forget to do it.
Why did I have to put a heat light on for extra heat and not just replace the incubator element?
Not long after I had just purchased lots of eggs, the heater element broke, as I was setting up this incubator. These are not expensive heater elements at all only costing £2 each but they have to come from China post is around 4 – 6 weeks.
4 – 6 weeks I did not have as I had just purchased a hundred pure breed chicken eggs. Also not good as my other incubators where full.
So I grabbed a brooder lamp put a 60watt light bulb in it. I cut a 5-inch hole above the heater element plate and the heat from the bulb heated the element plate.
The heater element was broken and would only heat up a little. This would help the temperature back to 37.5c as the light bulb would not get the incubator to 37.5c on its own. Neither would the heating element. But both of them together I got a constant 37.5c.
The light and the element worked together really well. There was less than 0.1 in the change of degrees. To be truthful this was one of my best hatches.
Better Quality Incubators
I have Brinsea’s incubators which have a good reputation and so do Rcom. These are very expensive incubators but you can find cheaper ones. These are more for the professional breeder.
If you are just looking to hatch a few eggs for your farm or home garden. Then you may what to purchase cheaper incubator. You can also get small Brinsea incubators for around 6 eggs.
It all depends on how many chickens you need, how often you will be incubating them and what you want to spend.
Maybe I should say, the money you can afford to spend on your incubator. You get what you pay for as they say in this world.
Also where you are in the world will depend on which incubator you use. There are lots of cheap Chinese incubators out there to incubate your eggs. Some better than others and some work better than others even though they are the same..?
The one I used for this article I got from a friend. He could not get it to work and keep the right humidity. I sorted that out cutting by cutting the two holes in the top “as mentioned above”.
Cost Of This Incubator
It cost him £99 for this 96 egg incubator, but they can also be purchased for £49 for 48 eggs. They are fully automatic from day counting to egg turning.
These incubators can also be used for Quails, Ducks and you can also purchase the automatic egg trays for the Quail eggs separate to fit inside these incubators.
I think you can incubate 360 Quail eggs in this incubator alone. You can also purchase cheap parts for these Chinese incubators. It would be best to purchase some along with the incubator. Then you will have them ready if anything goes wrong it’s just a quick swap.
This will stop you from having the same problems that I came across using one.
If you have more money to spare and do not want the hassle of making adjustments. Then I would recommend a more expensive incubator. They are more expensive because they are more reliable.
Setting Up Your Incubator
Before you even put a single egg in your incubator you are going to want to get aquatinted with the instructions and how it works.
You want to set the incubator up as if you were going to place eggs in there in the next day or so. Once you have the incubator is set up and you have placed the water in setting the temperature and humidity.
Leave it for 24 hours and if all is the same the next day. Then you are set to put the eggs in the incubator.
If you are using a forced air incubator like the one used in this article. The temperature wants to be 37.5 Celsius or 100.5 Faraihneght for optimal hatching rates. The humidity wants to be set at around 45% – 50% for the first 18 days this all depends on where you are based in the world, of course.
If you are using still air incubator then you want the temperature 38.3 Celcius which is 103 Faraiheght.
Automatic Incubators Are best for beginners
Automatic incubators have alarms for high temperatures and low. They can also have alarms for low humidity. You can set these to your specific requirements depending on what you are hatching, in this case, chickens.
I have tried 45 – 50% and 50 – 60% Humidity and you will read many more articles, telling you what the best settings should be. People have different ways of doing everything and raising chickens is no different.
You will need to find what is best for you and it is going to be trial and error. This can be heartbreaking at first when you make mistakes. This is not just you almost everyone makes these mistakes and it’s all part of the learning curve.
Double Checking Temperature & Humidity
Make sure that your incubator is giving you accurate readings, you may want to invest in a mercury thermometer. Mercury thermometers are the best way to get accurate temperature readings. They always have been and always will be. I have an old steamboat thermometer that works great and is really accurate.
You can also purchase a Digital Thermometer & Humidity display that is relatively cheap at around £5 or $7. These are not perfect but you can compare both your readings to get the average.
Now you are ready to set your eggs. You will want to make sure you write down the date you place your eggs into the incubator. This is to make sure you know what day to up the humidity which is day 18.
Place the eggs pointed end down in an automatic turning incubator or if you are manually turning the eggs, you will want to draw “A” one side and “B” on the other. This way you will know that you have turned all the eggs and turning them a minimum 5 times per day, but preferably more.
Remember if your incubator has alarms built into it, it will tell you if the temperature drops or the humidity. Remember to set these correctly and test them before you set your eggs. I repeat this as people tend to forget.
My cheap Chinese incubator has both of these, but I do not trust the humidity reading it gives. It also comes with automatic egg turners, which always work perfectly and turns the eggs every 2 hours.
I intend to use the electrical control board from this incubator to build my own Coka Cola automatic incubator fridge…
If you have made your own incubator you might want to keep an eye on it a little more than a manufactured branded version. Maybe you have a friend who is a little handy with electrics then they may be able to build you an alarm system.
Beginning Of Incubation
The first 7 to 10 days of incubation is when the eggs or embryos are more susceptible to variation in temperature and humidity fluctuations. So this is the time to be careful and do not go candling them at 2 days old.
You will see nothing and try to keep your hands out of the incubator or opening it. I know this is hard but this needs to be done to successfully hatch chicks.
It can be tempting if it’s your first time incubating eggs, but you will not see anything I promise you. If you have to top up the water then do it as fast as possible with warm water and then close the lid.
With this Chinese incubator. I can remove the whole thing from the bottom, fill the valleys with water and have it all back together in seconds. The temperature drops by 1 degree, humidity by about 5%.
Candling Your Eggs
Now you can purchase a really good egg candling light. I think if you are going to be incubating eggs many times it is an excellent investment.
You candle your eggs before they go into the incubator to see if they are any imperfections in the egg. Don’t incubate cracked eggs, weird-looking eggs with dodgy shells, extra-large eggs or small eggs. You then know that only good quality eggs are going in your incubator.
Candle after 7 – 10 days again people have their own way of doing things. I candle after 10 days at this time you will see the embryo growing and moving around inside the egg.
If you see a total clear egg then that’s a dud and should be removed. You will also start to see blood vessels showing in the eggs. If the eggs are really dark brown it is really hard to see anything.
Now you can see the air sack. If you feel the need to, as many people do. You can draw a line with a soft pencil around the air sack. Some people do this on the first candling before they go into the incubator.
The air sack will grow over time as the embryo grows and you will be able to keep track of the air sacks growth.
This helps you keep an eye on the embryo’s growth patterns and helps when you first start incubation. If its to small you can up the humidity if too large you can drop and so on.
I did this a couple of times at first and then I just stopped doing it. After I had my system in place I would only mark the eggs just before I was setting them. Then I would pencil on the last candling on the 18th day to see the difference.
Lock Down Day 18
After your eggs have been in the incubator for 18 days its time to turn up the Humidity to around 65% – 70% and lock down the incubator.
This is important, but if you need to add water during the lockdown then do it as fast as possible. Also, use warm water like “bath warm” water temperature, this will get the humidity back up faster.
Just remember that raising humidity is all about the water surface area and not the amount of water.
Try not to add water if any eggs or chicks are pipping or zipping. If you do open the incubator and there is a chick that has pipped or zipped.
The chick can get shrink-wrapped, in their membranes. It does not take long, so try to fill the water as fast as possible, warm water and preferably at a point when there is no pipping.
Stop Turning
Also at 18 days of incubation if the eggs have been in automatic turner or you have been hand turning them. You will need to remove the eggs from the egg turners. Place the eggs on the base of the incubator and let them be.
If you where hand turning them then stop turning. This is the time the chicks are getting into position for hatching.
Sit Back & Check From Time To Time
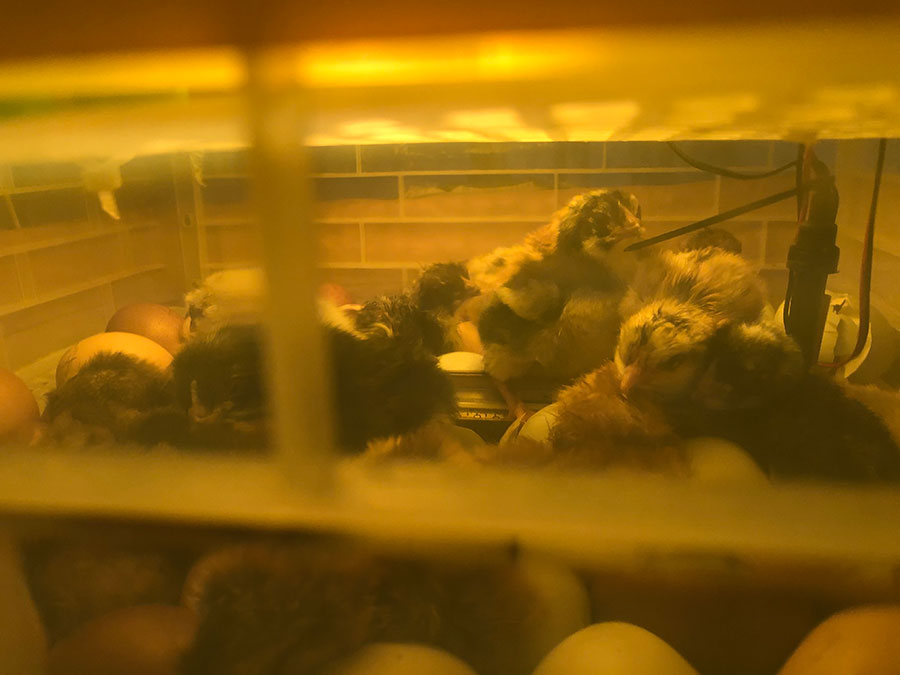
Now I don’t mean open the incubator, your incubator should have a clear area in which you can see the eggs. It will not be long from day 18 to 21 you will see the first chick pipping and you may even here then chirping.
This is a good feeling when it’s your first hatch as you know all your hard work is paying off and they are hatching out. It also never gets old no matter how many hatches you’ve done.
Now you might get a chick hatch on the 19th day and then no more that day, which happens a lot. The hatched chick will entice the other chicks to start hatching.
This is why you leave the hatched chicks in the incubator for the first couple of days. They have absorbed their yolk sack before hatching and are perfectly fine for up to 3 days without food and water.
So please leave them in there to dry out and encourage the others to start the hatching process. You can take them out after they are dry but not if others are hatching, leave them be.
Do not worry about the baby chicks knocking the other eggs around this will not harm them at all. If you have no eggs pipping and you can remove chicks but they do entice the others to hatch.
So if it has not been 3 days you are fine to leave them. It will not harm them in any way and the others in the eggs will hear the chick and know its time to hatch.
Some eggs can take up to 25 days to hatch but this is not the norm and whatever you do don’t intervene with the chicks hatching. It is common for chicks to pip and then not hatch for the next 24 hours, after pipping.
The Times You Can Try To Help A Chick Hatch
This is a tiring process for such a small animal and a good rest is only normal. But and this is a “Big But” if the chick has pipped and nothing else for around 24 hours only the pip. If you can still hear the chick chirping, you might want to step in.
If you have to step in be careful and you may find that some of these chicks will come out with problems. Things like a splayed leg or curled toes, you can help the chicks and become your own chicks DR and they will be fine.
I will show you how to fix common problems that you may come across in newly hatched chicks.
If you find that the chick may be having trouble, you can then gently try helping. Simple peel little bits of the shell away from the egg. From the air sack end of the egg and you might see why it cannot hatch if you have opened the incubator like I said it may be shrink-wrapped.
If so gently pull the membrane from around the chick and help it out carefully. This is because they have a small cord attached to their shell, you do not want to break this. Just help the chick out the egg so much but not all the way let it finish the process alone.
Once it is out of the shell leave it in the incubator to dry out and the cord will break itself.
Once you have got to 25 days and all the chicks have hatched and there is no more pipping, then its time to give up on incubation.
A strong chick will normally pip and zip “hatch” within a couple of hours if you have done a good job. Then you will see them popping out one after the other.
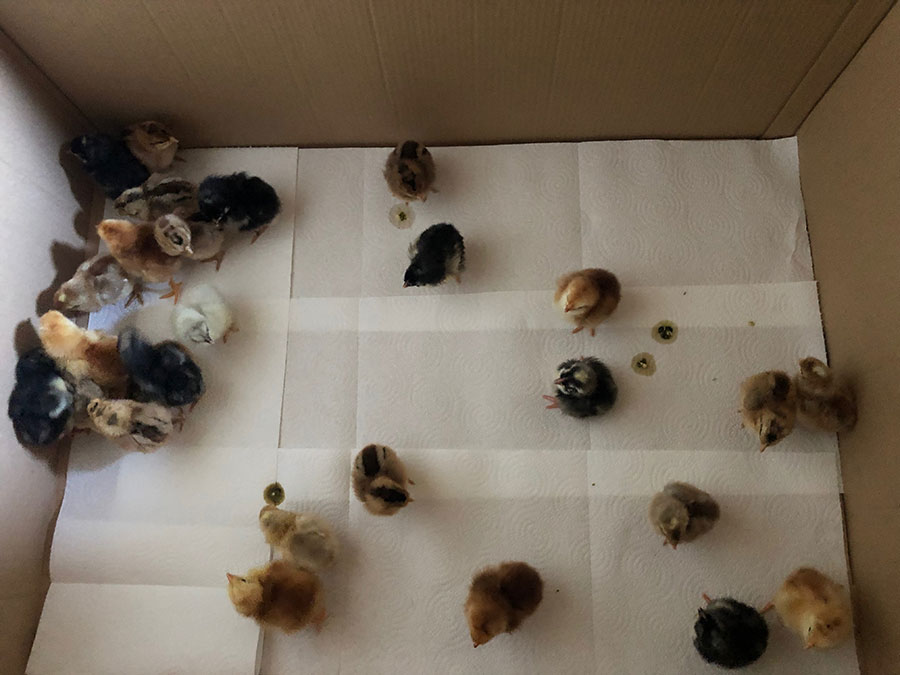
Brooder For The Young Chicks
Broader’s for your baby chicks can be anything. I have used everything from cardboard boxes to large plastic tubs. I tend to think the cardboard boxes are best as they are easy to get.
I use a large box for them covered in kitchen roll, so they do not get splayed legs. Splayed legs look like the chick is doing the splits, easy to fix so do not worry. As I said I will do another post and show how to fix this easy which is a common problem with chicks.
You should also have your heat lamp ready at this time. Also small drinkers and chick crumb feeders for the newly hatched chicks.
The chick crumb, there are lots of different types on the market and they are all good for your babies. Everyone has their own brand and you will know different. Find what is good and locally available to you and see how you go.
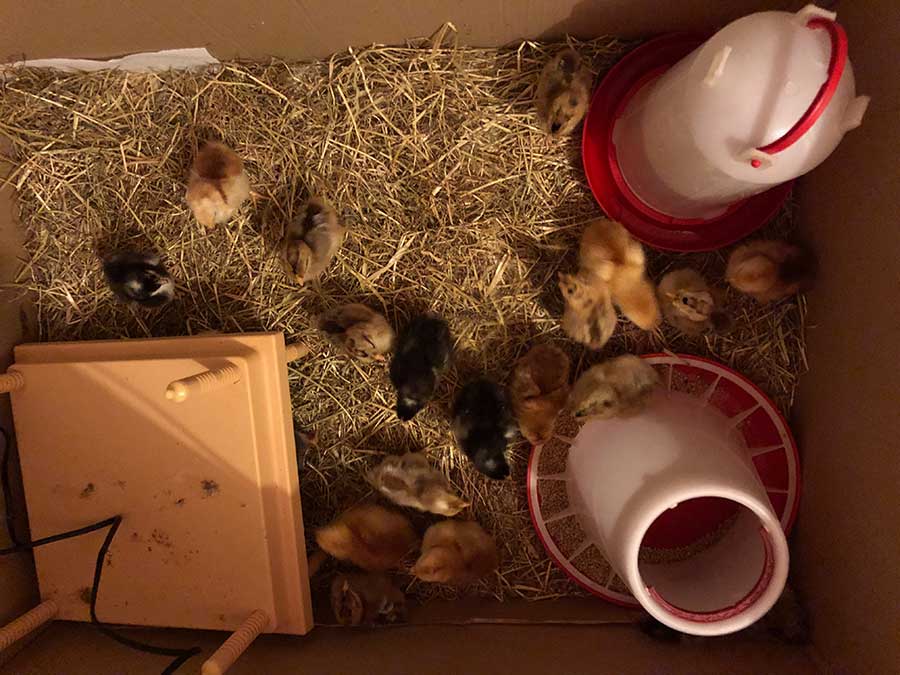
I personally use the Titan type of heater and I slope it down to the back so that the chicks can get snug if they need to. They can also come to the high front, to get a bit cooler and more comfortable, if needed.
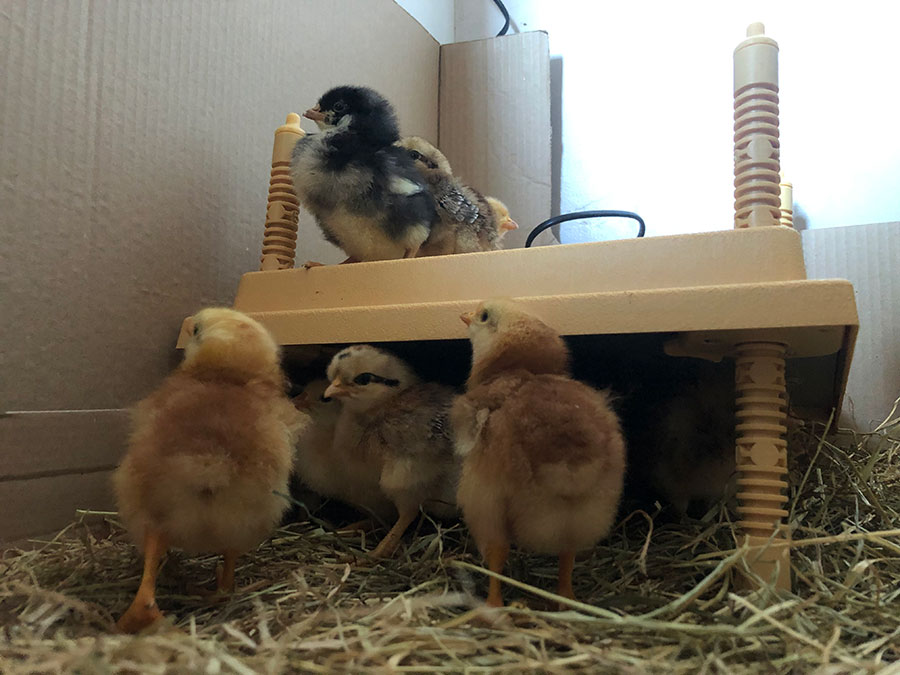
The False Chicken or Heating Pad
I think these types of heating pads or false chickens as some people call them are safer than heat lamps. Which I have heard, can catch fire. But this has never happened to me. I have heard it has happened to others.
You want to have the bottom of your broader covered in anti-slip material so that your chicks can get their feet. I use thick paper towels for the first couple of days and then switch to straw or hay.
There’s nothing more disheartening when raising your own chickens. Than poorly baby chicks. Many problems can be fixed but some cannot. I will talk more about these problems in another post on how to help chicks with problems.
I don’t like wood shavings as this can cause respiratory problems in the future of the birds. Especially the dusty wood shavings.
The chicks will need to stay in the brooder for a couple of weeks. If you are using a heat lamp to keep them warm then you will need to raise this as they grow.
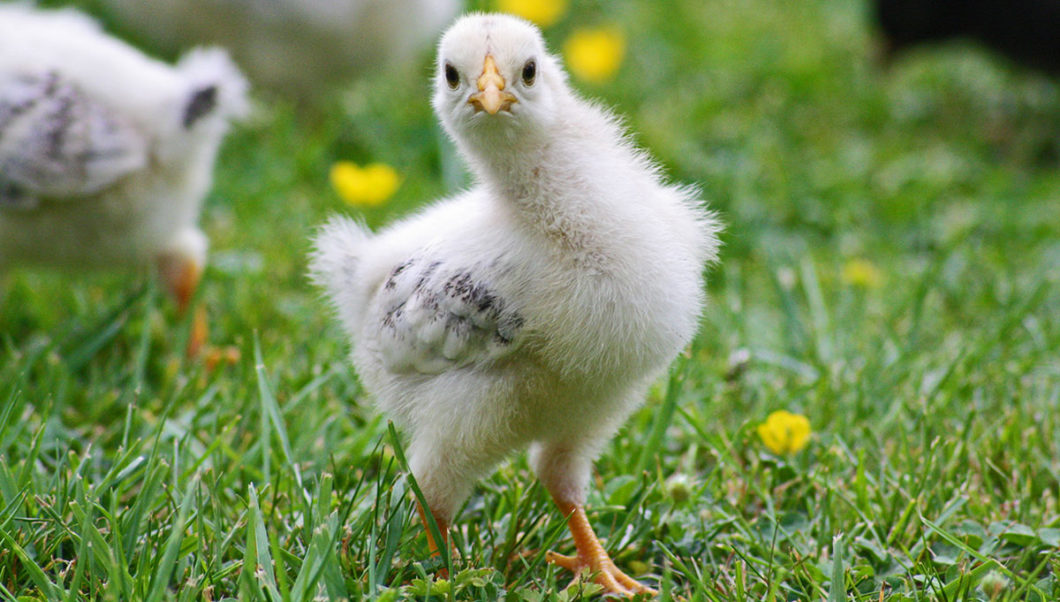
By around 3 days to 1 week, they will start getting their feathers and by week two and three they will be growing plenty of feathers.
Start To Move The Chicks Into Cooler Climates
Once they have got plenty of feathers you need to start getting them used to a cooler climate. This will not take long around a couple of weeks or so. Then you will be ready to move them from under the heat lamps into the shed.
They will all huddle together to keep warm and each will get its fair share of the warm middle area and be as snug as a bug in a rug.
After around 6 weeks they are ready for the inside area of a shed and out of the wind, especially cold wind. Move them into the outside pens or free-ranging area in stages.

They can also let them go outside if the weather is warm enough. You will see them scratching around and start the pecking order. They have their own personalities and are an excellent addition to any smallholding or home garden.
Not to mention the fresh eggs you get daily, Yum, Yum…!
Now you have reared your own chicks from egg to small chicken and at around six months they will start to lay their own eggs.
You may also find my post on Best Way To Raise Your Chickens helpfull.
Happy Days…!